With GoPro having announced their Hero4 Session model – essentially a smaller and lighter version of the familiar Hero4 – it just got easier to cram epic shots into unlikely spaces. But how do you integrate that delicious GoPro footage with your cinematic shots for a seamless viewing experience?
The best thing about GoPro – from an indie filmmakers perspective – is that these tiny cameras can be mounted/submerged/thrown/abused in ways you would never dare with a, say, RED or ARRI camera, for incredible action shots that low budget filmmakers previously were only allowed to dream of. The not so great thing is that more often than not the GoPro footage looks, well, like GoPro footage. That’s fine if you’re an extreme athlete documenting your downhill snowboarding skills, but if you’re a visual storyteller you might be looking for a bit more finesse. Which is why you want to use your GoPro sparingly and integrate the footage with your more standard, cinematic shots.
With the (even more) lightweight Hero4 Session, I suspect a lot of indie filmmakers will start saving up to add a drone to their gadget arsenal. I know I am. And I wanted to find out how to make the GoPro drone footage look like it wasn’t shot on a GoPro. This is what I found, as told by people much smarter than myself (specifically Robbi Serrini and Johnathan Paul, with help from Shane Hurlbut and Toby Oliver)
#1 Be picky about your GoPro camera settings
Turn off your wireless – you don’t need it and it drains the battery. Use the ProTune setting where the flatpass color space will make your highlights and shadows much better and easier to work with when color grading. Next – and this is something you need to play around with – shoot in 1080p at 60fps, then over crank (slow-mo) to 23.976fps in post, for that smooth, gliding GoPro drone footage. Never use the ‘automatic’ settings – set your own white balance, use the flat setting instead of GoPro Color, limit your ISO to 400 (in daylight) and set sharpness to low, so you avoid that home-video look. And most importantly, chose the right lens option: stay away from SuperView and UltraWide settings. Opt for the more modest Medium or Narrow settings, so you have more options for framing it in post. If you’re feeling it, go for the Wide – you’ll still be able to mix it with your cinematic footage via some magic in post.
#2 Upgrade
Since you’re already pouring money into GoPros and drone and what-not, do yourself a favor and get your hands on a high quality ND Filter or Polarizer.
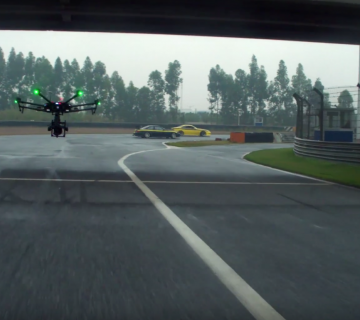
#3 Know your drone
Having all the right settings won’t save you, if you don’t know how to fly the little gizmo. Be sure you know the angle of the sun where you’ll be shooting, so you don’t capture any drone shadows (shot = ruined), and factor in things like wind as well. Is the wind in your back? Great, you can get more speed. Will you be flying from a no-wind zone to a windy one, such as when passing a moving car or flying through a window? You have to compensate for that to avoid a shaky shot.
#4 Use your GoPro for coverage
Don’t rely on your GoPro for the bulk of the footage, unless that’s the look you’re going for (see the amazing Leviathan trailer below). Instead, get your important shots on your regular rig, then get plenty of daring coverage with your GoPro – either with the drone or simply mounted in the most exciting places you can think of. Cutting to these exciting angles and non-traditional shots will add flavor to your scenes and can be a very powerful storytelling tool.
#5 Be patient in post
The GoPro footage might look great as-is, but it won’t mesh with your cinematic footage without a lot of work in post. First, transcode your footage to ProRes 422 and make sure it plays in 23.976fps. It’ll be a lot easier to work with than the H264 that comes out of the GoPro. Next, compensate for any fisheye effect in the image. This is crucial. Skip this step and your GoPro footage will look like, well, GoPro footage. Optic Compensation in After Effects is a good place to start. Once you’ve come as far as you can with Optic Compensation, frame and letterbox your image to fit the rest of your footage. Next, color grade until your eyes bleed. The Film Convert plugin will make it less painful. And finally, clean up the footage with noise and film grain reduction/addition, as needed. This where you’ll truly be able to match your GoPro footage with the more filmic look of the rest of your footage. Dark Energy (plugin for AE on Windows) or RE:Vision Effect’s DE:Noise seem to be popular choices.
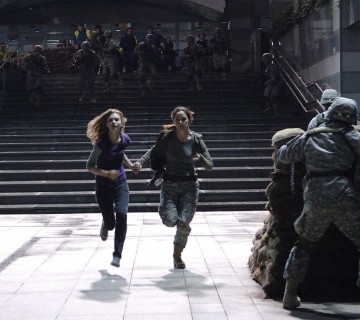
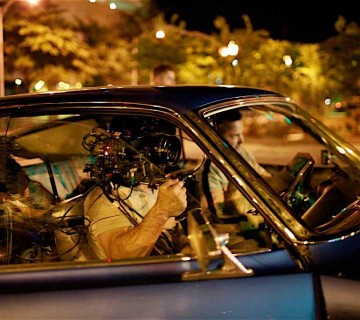
Check out how Wolf Creek 2 cinematographer Toby Oliver used GoPro cameras for some intense coverage shots:
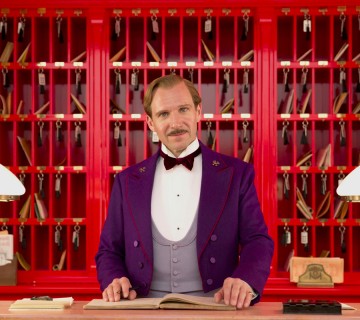
See how shooting a flat GoPro image, and then color grading the footage, can be beautifully integrated with cinematic shots in this short video:
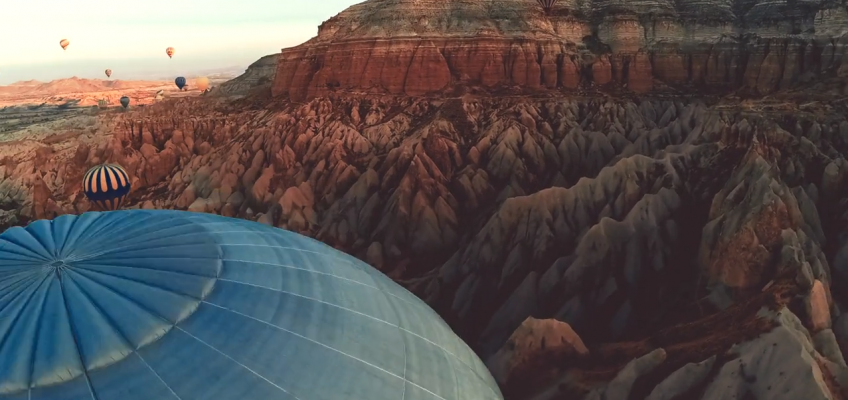
Notice how the aerial shots have that dreamy, gliding feel – accomplished by shooting at 60fps and then over cranking it to 23.976fps in post:
And finally, see how interesting a GoPro-heavy film can look in this Leviathan trailer:
h/t to Cineclast and PremiumBeat


IOS
http://www.vimeo.com/d2020/ios
I used the same technique in gopro footage with drone (1080p 60fps) then I make it 23.976 in Cineform format (GoPro Studio).
Finally I graded it in Davinci Resolve and save it as ProRes 422HQ driving it to FCPX for the final adjustments
thnx